

As a crafter, few things are more satisfying than a well-organized yarn stash. Whether you're a seasoned knitter, a crochet enthusiast, or just starting out, storing yarns neatly is key to a clutter-free workspace and easy access to your supplies. This blog post will guide you through various methods and tips for storing yarns in a way that keeps them tidy, accessible, and well-preserved.
Why Proper Yarn Storage Matters
Before diving into the "how," let's explore the "why." Proper yarn storage isn't just about aesthetics; it serves several important purposes:
- Preservation: Yarn can be delicate, especially natural fibers. Proper storage helps prevent damage from moisture, sunlight, and pests.
- Accessibility: When your yarns are organized, it's easier to find what you need, saving time and reducing frustration.
- Space Optimization: Neat storage maximizes your space, allowing you to keep more yarns without the clutter.
- Inspiration: A beautifully organized yarn stash can inspire creativity and make crafting more enjoyable.
Step 1: Sort and Categorize Your Yarn
The first step to neat yarn storage is sorting and categorizing. Here’s how you can do it:
- By Fiber Type: Separate your yarns by fiber content (e.g., wool, cotton, acrylic). This is especially important for proper care since different fibers may require different storage conditions.
- By Weight: Group your yarns by weight (e.g., lace, fingering, worsted). This makes it easier to locate the right yarn for your projects.
- By Color: Organizing by color can help you visualize your palette for future projects. This method is particularly useful for crafters who love colorwork.
- By Project: If you have yarns set aside for specific projects, store them together to avoid confusion later.
Step 2: Choose the Right Storage Containers
Once your yarns are sorted, it's time to choose the right storage solutions. The key is to keep your yarns protected while maintaining visibility.
- Clear Plastic Bins: These are ideal for long-term storage. Clear bins allow you to see what's inside without having to open them, and they provide protection from dust and pests.
- Baskets and Bins: For yarns you use frequently, open baskets and bins are a great option. They keep yarns accessible while adding a decorative touch to your space.
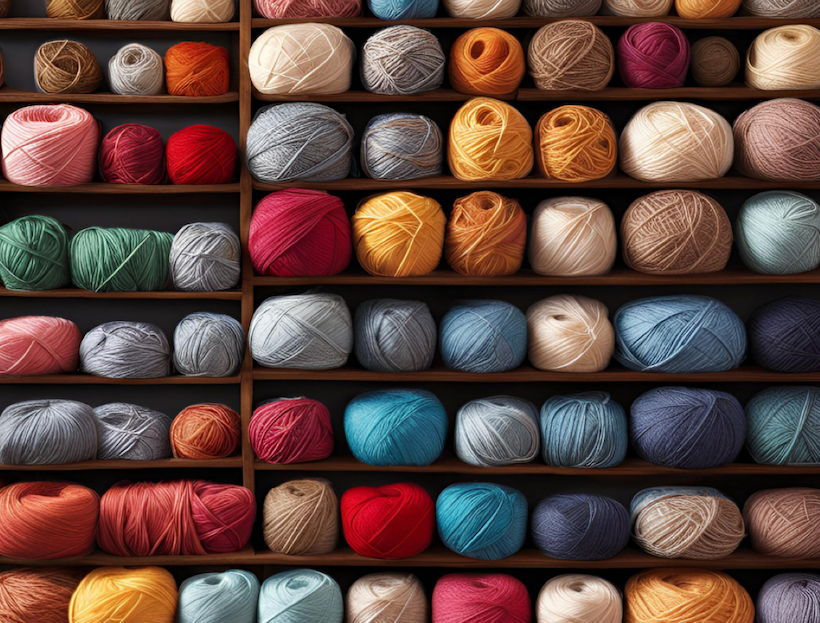
- Shelving Units: If you have the space, shelving units can be a stylish way to display your yarns. Use cubby shelves to sort by color or weight.
- Drawer Systems: For smaller spaces, a drawer system can be an excellent solution. Label each drawer according to its contents for easy access.
- Vacuum-Sealed Bags: For yarns you don’t plan to use soon, vacuum-sealed bags can save space and protect them from moisture and pests.
Step 3: Store Yarn Correctly
Proper storage goes beyond just choosing the right container. Here are a few additional tips:
- Avoid Direct Sunlight: Store yarn in a cool, dry place away from direct sunlight to prevent fading and damage.
- Use Acid-Free Paper: If you're wrapping yarns, use acid-free paper to prevent discoloration.
- Add Cedar Blocks: Cedar blocks naturally repel moths and other pests, making them a great addition to your yarn storage.
- Don’t Overstuff: Avoid overstuffing your containers. Yarn needs room to breathe to maintain its elasticity and shape.
- Regularly Rotate: If you have a large stash, rotate your yarns every few months to ensure they all get used and prevent any from becoming forgotten or damaged.
Step 4: Label Everything
Labeling your storage containers is crucial for maintaining order. Whether you’re using bins, baskets, or drawers, labels help you quickly find what you need. Here are some tips:
- Use a Label Maker: A label maker creates neat, uniform labels that are easy to read.
- Color-Code Labels: If you organize by color, consider color-coding your labels for even quicker identification.
- Include Fiber Content: For quick reference, include the fiber content on your labels, especially if you're storing yarns in clear bins where the label may be visible from a distance.
Step 5: Keep an Inventory
For larger yarn collections, keeping an inventory can be incredibly helpful. This can be as simple or as detailed as you like:
- Digital Inventory: Use a spreadsheet or a dedicated app to track your yarn stash. Include details like fiber content, weight, yardage, and dye lot.
- Physical Inventory: For those who prefer a tangible record, a notebook or index cards can work. Attach a small sample of the yarn next to each entry for quick reference.
Step 6: Regularly Declutter and Reorganize
Finally, make it a habit to regularly declutter and reorganize your yarn stash. Donate or sell yarns you no longer need or want, and reorganize your remaining stash to keep it neat and functional.
Conclusion:
Storing yarns neatly is an ongoing process, but the rewards are well worth the effort. With the right strategies and a bit of discipline, you can create a yarn storage system that keeps your crafting space tidy, inspires creativity, and ensures your yarns are always ready for your next project. Happy crafting!